Custom Safety Vests in Canada: CSA Classes, Print Placement and What You Can Put a Logo On
Posted on 26 October 2026
At a Glance
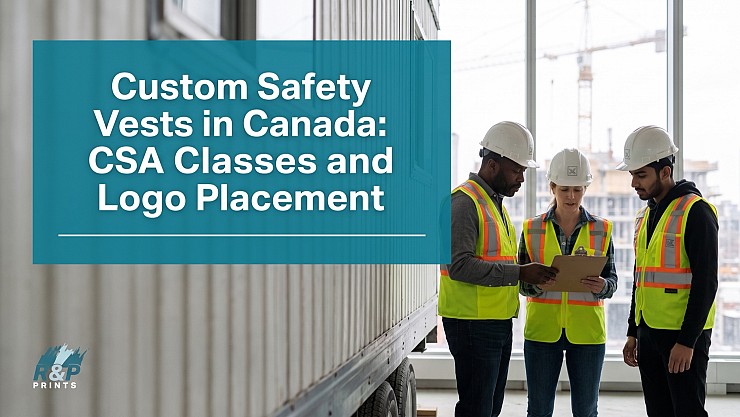
- Custom safety vests are certified high-visibility garments with your company logo or crew name added by screen printing or embroidery.
- In Canada the design rules come from CSA Z96, which sets the background colour, the amount of retroreflective striping and the three coverage classes.
- A logo is welcome on a hi-vis vest as long as it stays in the open areas and leaves the striping and the fluorescent background as the manufacturer built them.
- Class 2 vests cover most construction, warehouse and event-crew jobs; Class 3 is for high-speed traffic and night work; Class 1 is for low-risk, low-traffic settings.
- R&P Prints Canada prints and embroiders certified vests from Champion and Viking in Toronto, with a 12-piece minimum, a proof before production, and free shipping across Canada.
Custom safety vests are high-visibility vests that meet a recognized safety standard and carry your company's logo, crew name or department added by screen printing, heat-applied transfer or embroidery. They do two jobs at once: the fluorescent background and reflective striping make the wearer easy to see around moving vehicles and equipment, and the branding makes it clear whose crew is on site.
That second job is where buyers have the most questions, and it's the part R&P Prints Canada has answered for construction companies, utilities, event crews and municipal teams since 1999. Which class does your crew need, and can a logo cover any of the tape? Does printing change the certification, and is it better to print or stitch on hi-vis fabric? This guide walks through each of those so you can order custom safety wear with confidence and get the paperwork right the first time.
What Makes a Vest a Certified Safety Vest?
A safety vest earns its certification from how it's built, not from what's printed on it. In Canada the design requirements for high-visibility apparel come from the CSA Z96 standard, which the Canadian Centre for Occupational Health and Safety summarizes in its High-Visibility Safety Apparel guidance. The standard governs two materials that do different jobs.
Fluorescent background material takes invisible ultraviolet light from the sun and sends it back as visible light, which is why a fluorescent yellow-green or orange vest looks brighter than ordinary fabric of the same colour, especially at dawn, dusk and under cloud. Retroreflective striping does the opposite job: it bounces a vehicle's headlights straight back toward the driver, so it's what makes a worker visible at night and in poor light. A certified vest needs both, in the amounts and layout the standard specifies.
The vests we stock from Champion and Viking are built to those classes, with reflective tape that's double-sewn and seams that are heat-sealed so the garment holds its rating through a season of site wear and washing. When you add a logo, our job is to leave all of that exactly as the manufacturer built it.
What Do the CSA Classes Mean for Your Crew?
CSA groups high-visibility apparel into three classes by how much of the body the garment covers and how much striping it carries. The CCOHS guidance recommends a hazard assessment for each site, looking at traffic speed, lighting, how long workers are exposed, and whether they're directing traffic or working near equipment, and the class follows from that assessment. In practice the three classes sort out like this.
Class 1: Low Traffic, Low Speed
Class 1 provides the lowest acceptable coverage and suits workers who are well separated from traffic or around vehicles moving at parking-lot speeds, such as a warehouse receiving area or a parking attendant. A Class 1 vest is the lightest option and the easiest to brand because it has the most open fabric.
Class 2: Most Construction, Warehouse and Event Work
Class 2 adds more fluorescent background and more striping, and it's the class most crews actually need: construction sites, delivery yards, event crews near roadways, school crossing teams and municipal workers. Most customized safety wear orders we fill are Class 2 vests with a company logo on the back and a smaller mark on the chest.
Class 3: High-Speed Traffic and Night Work
Class 3 gives the most coverage and visibility, including the arms and sometimes the legs, for workers exposed to highway-speed traffic or working at night in poor light. Roadway crews, tow operators and emergency responders typically need Class 3, and the sleeves and full-torso layout mean the branding plan has to be drawn around the striping more carefully.
If your site has a written safety plan or a general contractor's requirement, that document names the class. If it doesn't, the hazard assessment in the CCOHS guidance is the right starting point, and we're glad to confirm what the garment you've chosen is rated for before anything is printed.
Where Can a Logo Go on a Hi-Vis Vest?
A logo belongs in the open fabric, away from the striping. The CCOHS summary of the CSA standard spells out how far an addition can go: a non-reflective identification badge on the front has to stay small, can only overlap a small portion of the vertical striping, and on the back it cannot cover any striping at all. A larger mark is allowed only if it's made of retroreflective material that itself meets the standard and still doesn't break the striping pattern.
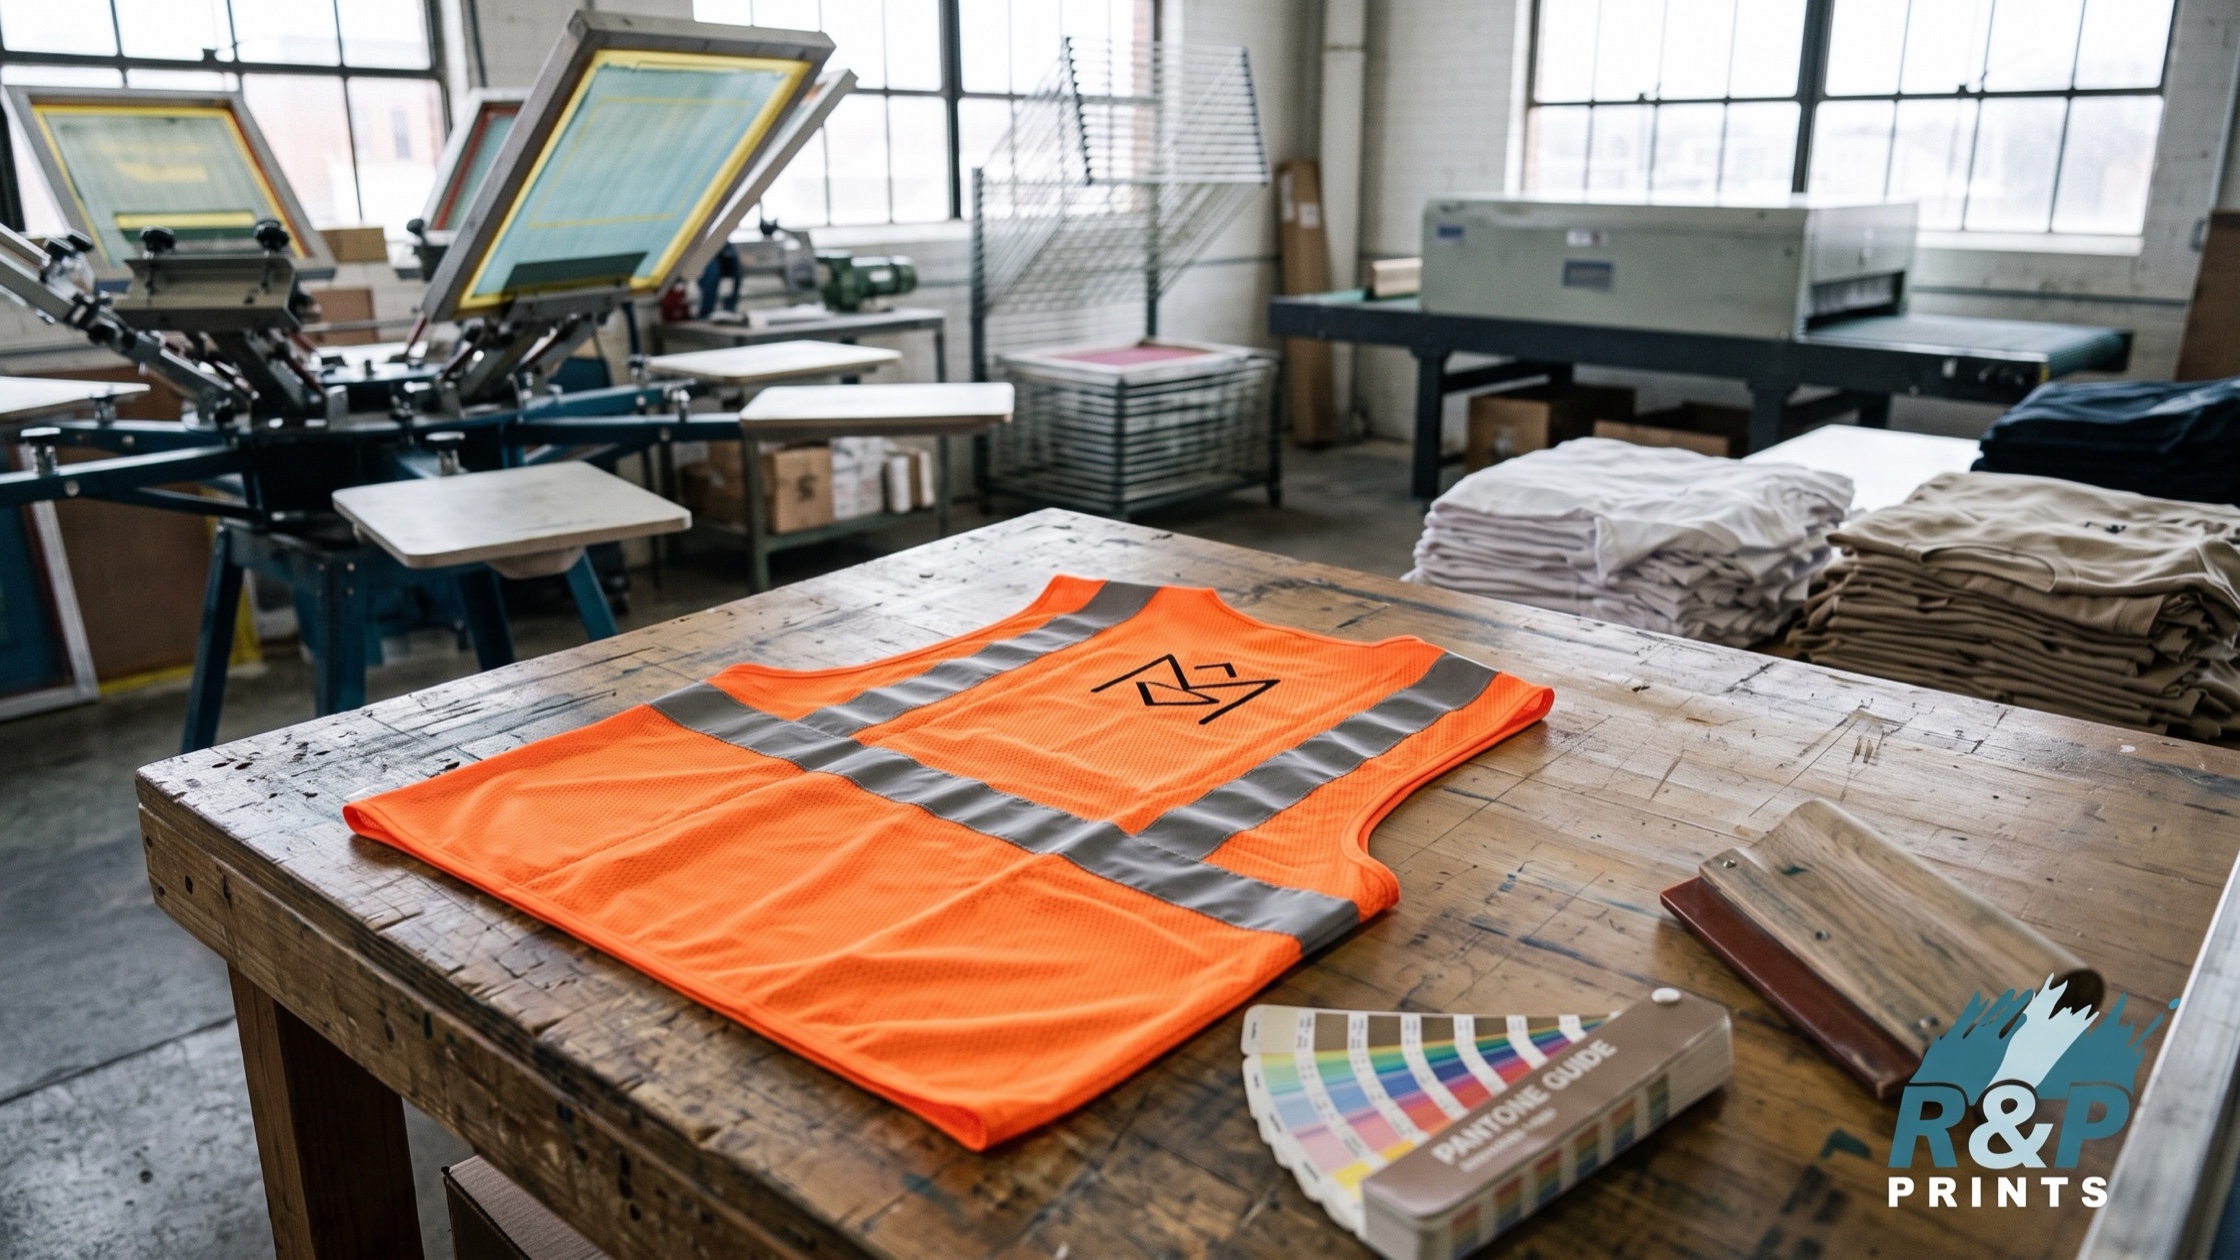
The practical placements that satisfy that rule on nearly every vest are the upper back between the shoulder stripes, the left or right chest above the horizontal band, and, on styles with them, the front pocket panel. Our online design tool has the displayable areas for each vest programmed in, so the logo can only land where the garment stays compliant, and the proof we send shows the exact position before a single piece is printed.
The one placement we always talk a customer out of is a full-width back print that runs across the horizontal stripe. It looks bold on a mockup, and it would take the vest out of spec the moment it was worn. A clean logo above the stripe reads just as well from across a site and keeps the garment doing its primary job.
Should a Safety Vest Be Printed or Embroidered?
Both work on hi-vis fabric, and the choice comes down to the garment and how it will be used. Screen printing lays fade-resistant ink onto the polyester mesh or solid fabric and is the better value for a crew of 20 or more with a one- or two-colour logo. The ink sits flat, so it doesn't catch on tools or harnesses, and it holds up through repeated washing. For most vest orders, custom screen printing is where we start.
Embroidery stitches the logo into the fabric and gives supervisors' vests, outerwear and parkas a finished, uniform look that matches embroidered polos and jackets. It suits solid-fabric vests and heavier hi-vis coats more than lightweight mesh, which can pucker under dense stitching, and we match thread and backing to each garment so the logo sits clean. If your crew already wears custom embroidery on its polos, matching the vests is an easy call.
Heat-applied transfers fill the gap for small quantities or full-colour logos. Whichever method suits your order, the compliance rule is the same: the logo stays in the displayable area, and the striping stays untouched.
How Do You Order Safety Vests for a Crew?
A crew order needs the same five things as any apparel order, plus one more. Send the artwork, ideally as a vector file, and the Pantone code if your brand colour matters. Give a headcount by size, and remember that vests are worn over jackets in winter, so most crews size up at least one step from the shirt size. Name the number of print locations, usually a back logo and a chest mark. Tell us the date you need the vests on site. And tell us the class, or the site rule that sets it, so we can confirm the garment you've chosen is the right one.
From there the process runs on our side. We check the file, send a digital proof showing the logo in position on the vest you chose, and start production only after you approve it. Standard turnaround is 5 to 10 business days from approval, there are no setup fees, the minimum is 12 pieces per design, and shipping across Canada is free. We keep the artwork on file, so when the crew grows or vests wear out, the reorder matches the first run. Our earlier guide to how to design custom safety wear for your work site covers the artwork side in more detail.
Hi-Vis Beyond the Vest: Building a Branded Safety Program
Once the vests are sorted, most crews extend the same logo across the rest of the kit, and it's worth planning the set together so the colours and placements match. Hi-vis t-shirts and long sleeves handle summer work. Hi-vis hoodies, parkas and 5-in-1 coats handle a Canadian winter, and insulated bib pants and overalls round out the cold-weather set. The same logo files and the same displayable-area rules apply to every piece.
For teams that mix hi-vis with regular custom workwear, such as shop staff, drivers and office crew who visit site, the smart move is one artwork file, one Pantone match and one supplier, so the brand looks the same on a safety vest, a work shirt and a fleece. A larger rollout across several locations is the kind of job our commercial screen printing team runs every month, with the same standards whether it's 12 pieces or 1,200.
Custom Safety Vest Buyer's Checklist
Use this before you request a quote, and the order will move straight to a proof.
|
Question |
What to decide |
|
Which class does your site or contractor require? |
Check the site safety plan or the general contractor's rule; use the CCOHS hazard-assessment questions if nothing is written. |
|
Which style of vest suits the crew's work? |
Mesh for summer and indoor work, solid fabric for durability and embroidery, tear-away where snag hazards exist, surveyor style when pockets matter. |
|
Where will the logo sit on the vest? |
Upper back above the striping and left chest are the safe defaults; nothing crosses the tape. |
|
Should the logo be printed, embroidered or transferred? |
Print for crews with a simple logo, embroider for supervisors and heavy outerwear, transfer for small full-colour runs. |
|
What sizes do you need, and how many of each? |
Count heads, size up for winter layering, and add a few extras in the middle sizes for new hires. |
|
Which other pieces should carry the same logo? |
Decide now whether tees, hoodies or parkas will carry the same logo, so the artwork and Pantone match are set once. |
Get a Quote for Custom Safety Vests From R&P Prints Canada
R&P Prints Canada has printed and embroidered safety wear for construction, trades, utilities and event crews across the country since 1999, all of it in our own Toronto shop. Send us your logo, the class or site rule you're working to, and a headcount by size, and we'll confirm the right vest, show you the logo in position on a proof, and have an itemized quote back within 24 hours. Call 1-877-646-5111 or request a free print estimate at printscanada.com.
Frequently Asked Questions
Does printing a logo on a safety vest affect its certification?
The certification belongs to the vest as the manufacturer built it, so the question is whether the addition changes what the standard measures: the fluorescent background and the retroreflective striping. A logo placed in the open fabric, clear of the striping, leaves both as they were and is the accepted way to brand hi-vis gear. A print that covers or breaks the striping is the problem to avoid. We keep every logo inside the garment's displayable area and show the placement on a proof before production.
What class of safety vest do I need?
The class follows from the risk on your site rather than from the job title. Class 1 suits low-speed, low-traffic settings such as warehouses and parking areas. Class 2 covers most construction, delivery and event work near roads and equipment, and it's the class most crews order. Class 3 is for high-speed traffic and night work and adds coverage on the arms and torso. Your site safety plan or general contractor usually names the class; if nothing is written, the CCOHS hazard-assessment questions point to the right one.
Can I get custom safety vests with no minimum?
Our minimum is 12 pieces per design, which covers almost every crew order, and the per-piece price falls as the quantity grows. Screen printing is set up per design, with a screen for each ink colour, so it's most economical in batches of a dozen or more. If you genuinely need fewer than 12 vests, tell us the quantity and the logo, and we'll suggest the most practical option, which is often a heat-applied transfer rather than a full screen setup.
Is embroidery or screen printing better on hi-vis fabric?
Screen printing is the better choice for most vests, especially lightweight mesh styles, because the ink sits flat, holds its colour through washing and costs less per piece on a crew-sized run. Embroidery suits solid-fabric vests, hi-vis parkas and supervisors' outerwear where a stitched logo matches the rest of the team's embroidered gear. Dense stitching on thin mesh can pucker, so we'll recommend print on those styles. Both are placed in the displayable areas so the striping is untouched.
How long does a custom safety vest order take?
Standard production is 5 to 10 business days from the moment you approve the proof, and the proof usually goes out within a day of receiving your artwork. Shipping across Canada is free and adds a few days depending on the province. Allow about three weeks from first contact to vests on site, and tell us the date you need them before you commit; rush production is available when the timeline is tighter, and we'll confirm whether the date is realistic before the order is placed.